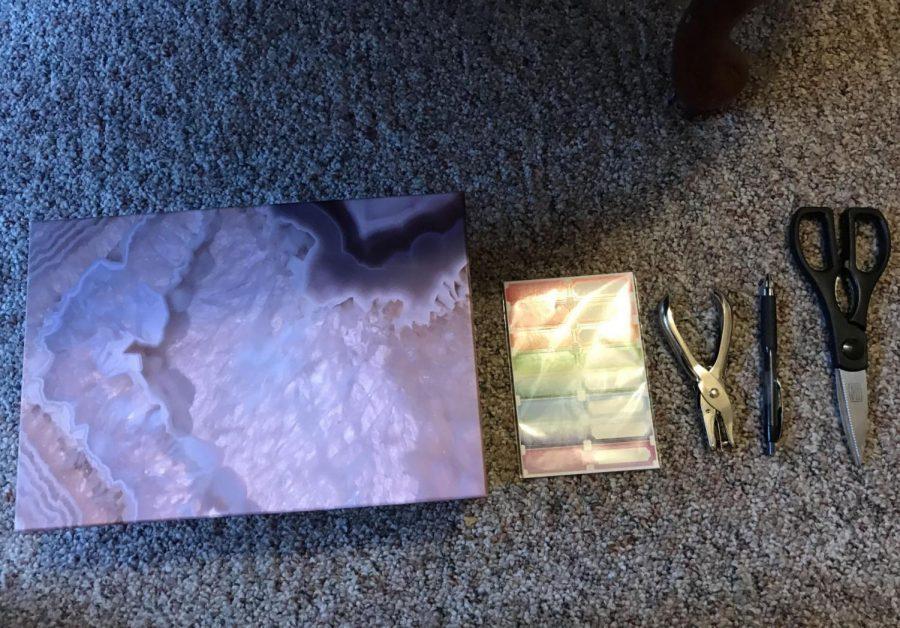
DIY charging station
October 12, 2017
{{tncms-inline content=”<ul> <li> <p>Box</p> </li> <li> <p>Labels</p> </li> <li>Hole punch</li> <li> <p>Pen</p> </li> <li> <p>Scissor or exacto knife</p> </li> <li> <p>Power-strip</p> </li> </ul>” id=”f7b4885a-6fdc-40e8-9d77-0e584c84e97c” style-type=”info” title=”Materials” type=”relcontent”}}
Steps:
1.Cut a hole in the back of the box with scissors or an exacto knife. When doing so, make sure the end of the cord attached to the power-strip can fit through.
2. Place the power strip inside the box and pull the cord through the hole.
3. In the front of the box, hole punch or cut holes. This is where the different charging cords are going to come through. If the lid for your box covers the holes, punch holes to match in the lid.
4. Under each hole, put a label and write what each cord goes to. Chalkboard stickers or regular labels are both acceptable for this project.
5. Mark each one for the correct cord. After, place the chargers in the box, pull them through the holes and the charging station is complete.


