Get creative with cellphone case design
November 19, 2013
Finding the right cellphone case is a difficult task. Instead of spending hours looking at stores or online, create your own in 15 minutes.
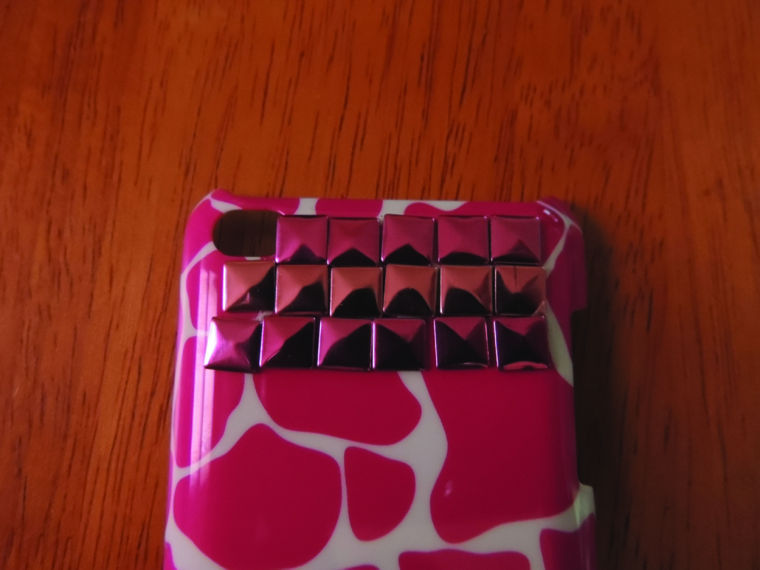
Some of the easier DIY designs for cellphone cases involve gluing small materials — rhinestones, jewels and studs — on the back of the case. Although stylish, the studded phone case will make any wimp run away in fear.
I’d recommend using a hard cellphone case because they are easier to decorate. The other materials needed for this DIY are your rhinestones, jewels or studs. You’ll also need super glue, hot glue or Mod Podge.
Start by cleaning the cellphone case. The glue will stick better when working with a clean base. The case can be blank, but for this DIY, I chose a pink and white giraffe-print case. I wanted to try something fun that the material for my DIY — studs — would go with.
Experiment with designs on the back of the case before using the glue. You can spell out names and words with letter beads or create colored patterns with studs. Check out designs on Pinterest and Instagram.
Don’t make the mistake of using super glue without knowing your exact case design. This is important because you can change your mind now, but once the glue is dry, it’s harder to change the design.
When you’ve got a design set, begin gluing the studs onto your case. After the studs are on the case, hold the studs down for at least 10 seconds. I like to do this to make sure each stud is really stuck. You know you’ll drop your phone eventually, and you don’t want the materials falling off your case.
Finish gluing and leave the case alone for a few hours. I know you are excited to show off your new case, but you want to make sure it will last more than an hour with the cool material still on the case.


