For many college-age musicians, the idea of recording music on a budget can be daunting. It may seem impossible to get high quality sounding recordings without spending thousands of dollars on high-end equipment or booking studio time with a professional engineer.
However, there are more affordable equipment and software options available than ever before. Here are a few basic essentials that will give you the tools you need to make recordings you can be proud of.
AUDIO INTERFACES
Arguably the most crucial part of any home recording setup, an audio interface simply connects instruments and microphones to your computer via USB. This allows you to record directly into your digital audio workstation, or DAW, of choice.
One of the most popular entry level audio interfaces is the Focusrite Scarlett Solo. This interface will give you everything you need, including both line and XLR inputs and gain controls for each for just over $100.
MICROPHONES
Once you have your interface, you can start considering what type of microphone best suits your needs.
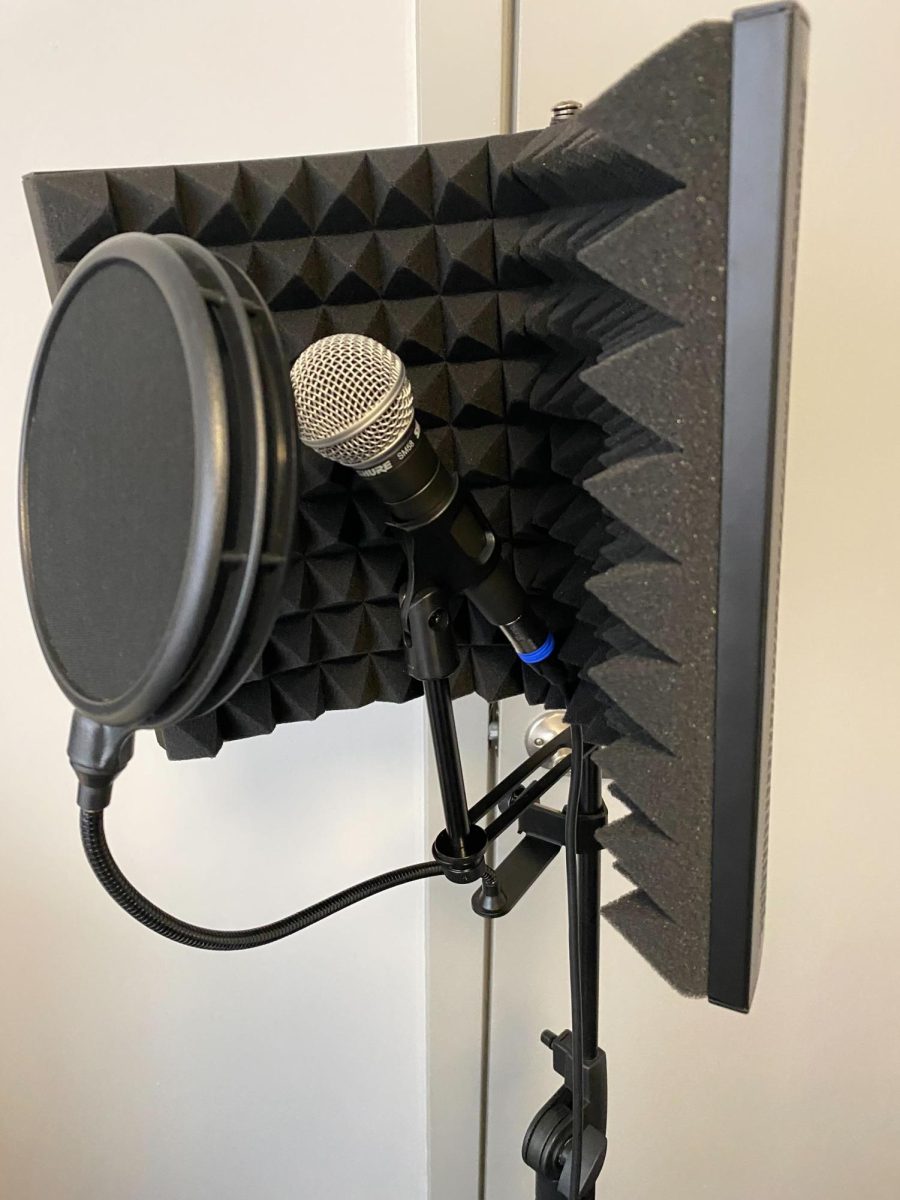
Among the most popular and versatile microphones is the Shure SM58, a dynamic microphone which retails for around $100. While you’re most likely to see these microphones used on stage during live performances, they also serve as a user-friendly microphone for beginners looking to get into home recording.
However, if you’re looking for a more traditional studio microphone, you may want to opt for a condenser microphone. A condenser microphone like MXL’s 990 provides a budget option that offers higher sensitivity and a more natural tone than dynamic mics, like the SM58 are generally capable of.
Additionally, accessories like pop filters are an integral part of getting the best sound out of your mic at home. A pop filter is placed in front of the microphone to block out harsh sibilance (sharp sounding “s” and “t” sounds) and plosives (popping sounds that come as a result of the air from your mouth hitting the mic). These can be found starting at around $10 and are a must-have for recording professional sounding vocals.
SOFTWARE
If you’re a Mac user and are looking to make quick, decent sounding tracks without getting too deep into the technical aspects of mixing, look no further than GarageBand. The free Apple software comes with a built-in library of virtual instruments, guitar amp simulators and vocal presets, all packaged in a user-friendly interface that’s easy for even an absolute beginner to get the hang of.
However, if you find yourself frustrated by GarageBand’s limitations, looking for a more professional sound or simply wanting to take a more intensive approach to production, it’s wise to explore other programs.
While software like Ableton, FL Studio, and Pro Tools reign supreme for amateurs and professionals alike, they come with a hefty price tag and a difficult learning curve. REAPER, however, has all the same capabilities as its competitors, but with a price tag of only $60 for a one-time license and $225 for a commercial license.
REAPER isn’t quite as intuitive or easy to navigate as many of its pricier alternatives and doesn’t include the widest selection of usable stock plugins. However, with the help of a few YouTube tutorials from channels like REAPER Mania and some third party plugins, REAPER can come to life and hold its own against any other software at a fraction of the cost.
It may not be possible to replicate the sounds of expensive microphones and analogue recording processes on a budget. However, with a little work and practice, these items and programs will get you closer than you may have thought.


