

Reuse Old Candles with This DIY Candle and Wax Melt Craft
November 19, 2018
One of the most frustrating things when purchasing candles, other than the price, is that they rarely burn all the way down until the wax is gone. Most of the time, at least a half an inch of wax remains. Instead of throwing the remnants of your candles away or storing them for years, there’s a way you can reuse them. Depending on the price of your old candles, you can melt them down into new ones for less than what you originally paid for them.
Materials:
– candle
– Silicone mold
– Small glass container
– candle wicks
– aluminum can
– 2 chopsticks or skewers (if available)
– glue
**Mold, containers and wicks were purchased at Michael’s craft store. 40 percent off and 50 percent off coupons were used. I purchased my glass from Michael’s (99 cents to $1.69 each), but if you’re looking for a wider variety of glass shapes, I suggest looking at Goodwill’s glass options.
Candles
To begin, start scraping the remaining wax out of its container. Use a large spoon to scrape out the wax and drop it into the empty aluminum can. The rate of ease depends on how much wax is left, the type of wax and the container. The wax from a Bath and Body Works candle was very easy to scoop out, but the wax from a True Living candle was much more difficult to scrape.

Sarah Fischer/Northern Star
In a small pot, bring an inch of water to a boil. After the water starts boiling, place the can inside and watch as the wax slowly melts. You can use a spoon to stir the wax around, or wait until it’s completely melted.

Sarah Fischer/Northern Star
While the wax melts, take the glass container and glue the round, metal piece attached to the wick to the bottom. I used hot glue because it dries faster, but regular glue works if you don’t have a hot glue gun. If you have chopsticks or skewers available, pinch them together around the wick to keep it standing. This isn’t necessary, but once the wax pours in, the wick has a tendency to become limp.

Sarah Fischer/Northern Star
Once the wax has melted, remove the can from the water, and pour the wax slowly into the glass. Be careful, as the can may be hot from the water. The wax will take a while to cool, but you can also put it in the freezer to cool it more rapidly.
Finished!
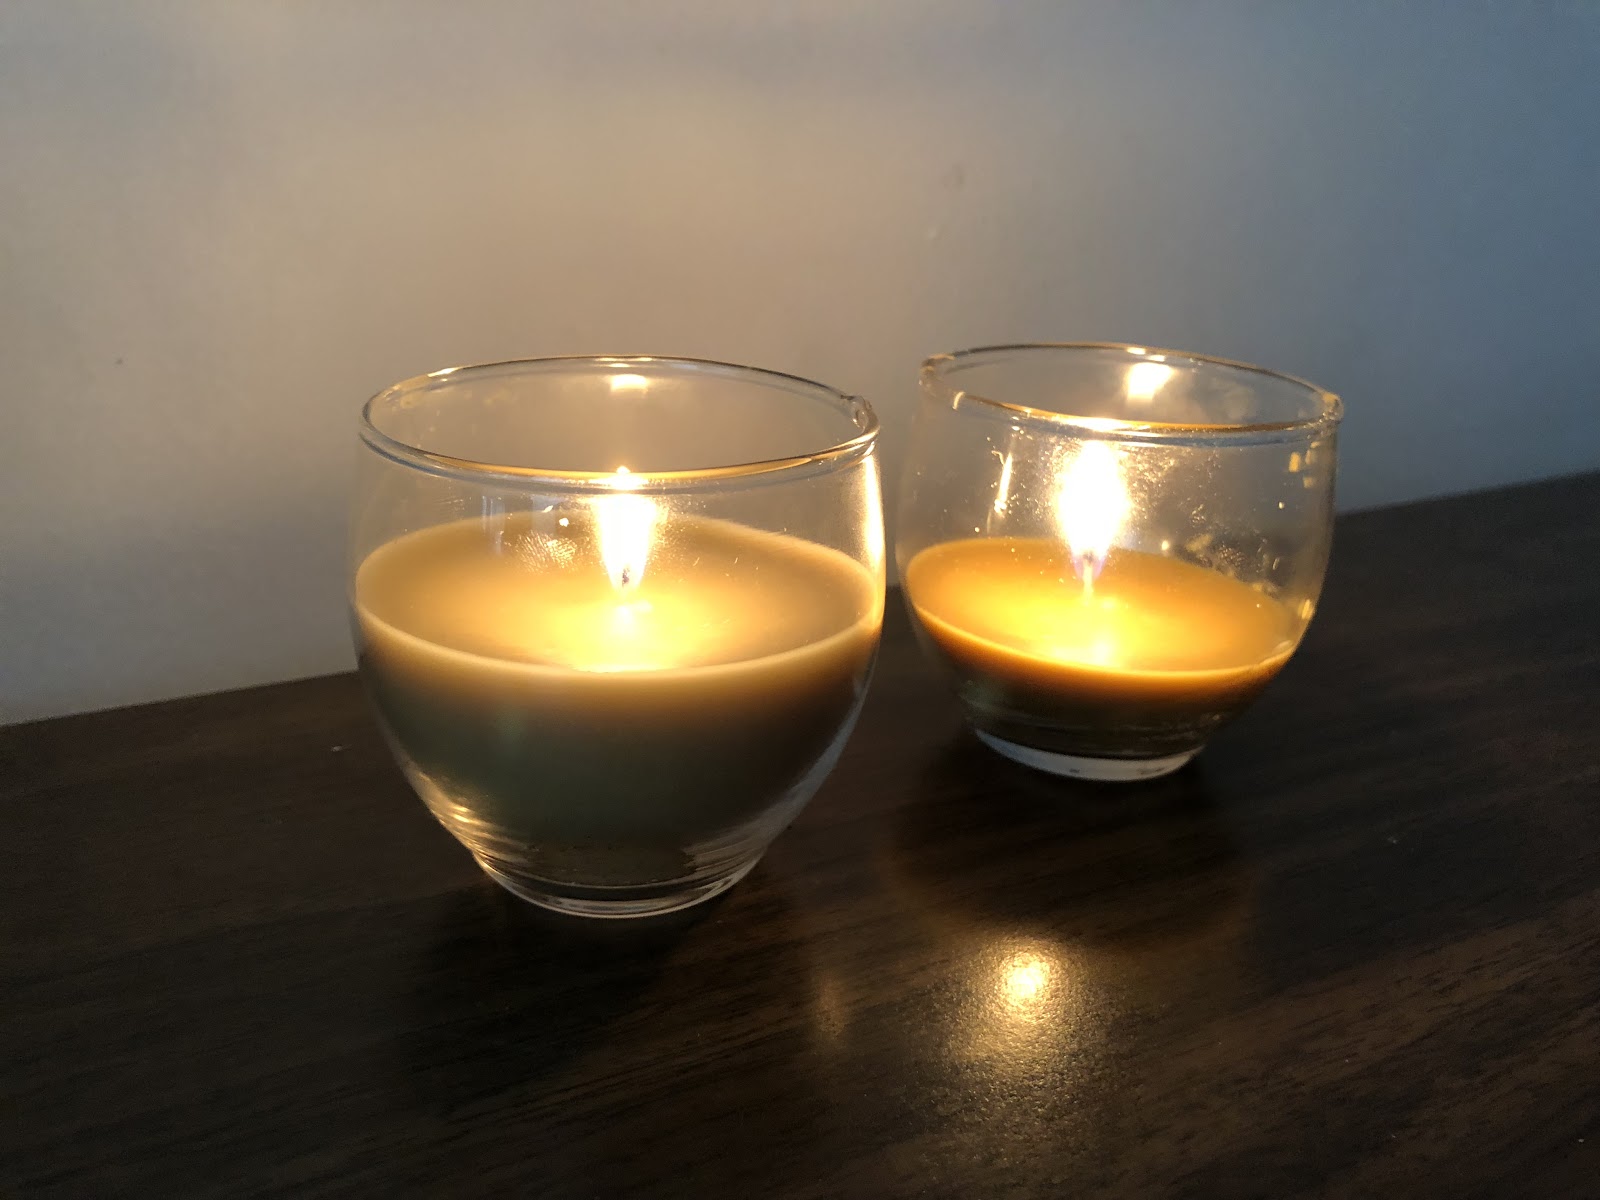
Sarah Fischer/Northern Star
Wax melts
The wax melts are my favorite part of this craft. They turn out beautiful, and they take less work than the candles. Follow the melting instructions for the candle wax and pour the melted wax into the silicone mold.

Sarah Fischer/Northern Star
I purchased my mold at Michael’s for $4.99 in the candy-making section. They have a wide variety of molds primarily used in making chocolate, but it works the same for wax. Silicone works best because it bends easily and usually won’t break the wax mold, though sometimes a crack is inevitable with the wax. You can let them cool on their own, but I like to stick the mold into the freezer to speed up the cooling process. I chose a leaf design for the fall season, but you can do this in any season with any scent. These melts are perfect for wax melt warmers. You only need one to two melts at a time, and they last about 30 days.
Finished!

Sarah Fischer/Northern Star


